
Migrate Maven Central publishing to Central Portal for a Gradle project
Publishing Java libraries to Maven Central
has been the default way of distributing dependencies in the Java ecosystem for decades.
Traditionally, this was done through Sonatype’s OSSRH
(Open Source Software Repository Hosting) service,
which required publishing to staging repositories at
oss.sonatype.org or s01.oss.sonatype.org,
followed by a manual release confirmation.
However, Sonatype has recently deprecated OSSRH, and turned it off completely on June 30, 2025, replacing it with a new service called the Central Portal, which aims to simplify and modernize the publishing experience.
If you’re currently using Gradle with the
maven-publish plugin
to publish your Java libraries to Maven Central through OSSRH,
this article will guide you through the migration process to Central Portal.
Step 1: Create a Central Portal account
First, you’ll need to create an account on the Central Portal:
- Navigate to central.sonatype.com.
- Click “Sign In” in the top right corner.
- Choose to sign up with Google, GitHub, or create a custom username/password.
- Verify your email address when prompted.
Note: make sure to use the same email address that’s associated with your project’s namespace (the group ID in Maven-speak) in OSSRH – this is crucial for the migration process.
Step 2: Migrate your namespace
Once you’re logged in to your Central Portal account, navigate to central.sonatype.com/publishing/namespaces. You should see a list of all namespaces you own. Any namespaces still configured to be published through OSSRH will be present in a section called “OSSRH Namespaces” (if you can’t see that section, that means there are no OSSRH namespaces associated with your account. If you expect to see namespaces listed in that section, you’ll need to contact Central Support).
Click “Migrate Namespace” for the namespace you want to migrate, and then follow the prompts to complete the migration. Note that only namespaces that meet certain criteria (no more than 6 authorized publishing accounts, no parent or child namespaces) can be migrated through the self-service process – if your namespace doesn’t meet these criteria, you’ll need to request a manual migration by contacting Central Support.
Step 3: Generate a Portal token
After your namespace is migrated, you’ll need to update your authentication credentials. For a long time, OSSRH required you to use your email and website password for publishing, but then introduced the concept of API tokens that could be generated (and revoked) independently from your website credentials.
Central Portal also uses tokens for authentication,
but they are separate from the ones in OSSRH,
so you’ll need to generate a new one by navigating to
central.sonatype.com/usertoken,
and clicking on Generate User Token.
This will result in a username-password pair that looks something like
aBcDef1/ and aBCdEFG1H2IjKlmnoPQ3R+STUVw4XYzAB5C6dEF7GH8I.
You’ll need to copy these credentials,
store them securely,
and provide them in your Gradle build configuration when publishing your project –
most likely in your ~/.gradle/gradle.properties file, for example:
centralPortalUsername=aBcDef1/
centralPortalPassword=aBCdEFG1H2IjKlmnoPQ3R+STUVw4XYzAB5C6dEF7GH8I
Step 4: Update your Gradle build configuration
If you’ve been using the maven-publish plugin to publish your project,
I assume your configuration looks something like this:
// old configuration (using OSSRH)
publishing {
    repositories {
        maven {
            name = "MavenCentral"
            url = "https://s01.oss.sonatype.org/service/local/staging/deploy/maven2/"
            credentials {
                username = project.findProperty("ossrhUsername") ?: ""
                password = project.findProperty("ossrhPassword") ?: ""
            }
        }
    }
    // ...
}
This needs to be updated to point at the Central Portal API endpoint instead:
// new configuration (using Central Portal)
publishing {
    repositories {
        maven {
            name = "MavenCentral"
            url = "https://ossrh-staging-api.central.sonatype.com/service/local/staging/deploy/maven2/"
            credentials {
                username = project.findProperty("centralPortalUsername") ?: ""
                password = project.findProperty("centralPortalPassword") ?: ""
            }
        }
    }
    // ...
}
Now, running the same publishing task as before
(something like ./gradlew publishJarPublicationToMavenCentralRepository),
but with a new version of the project,
should succeed!
Step 5: Upload the created repository
Interestingly, even though the Gradle task should now succeed, if you go to central.sonatype.com/publishing/deployments after running it, you’ll probably see an empty list of deployments:
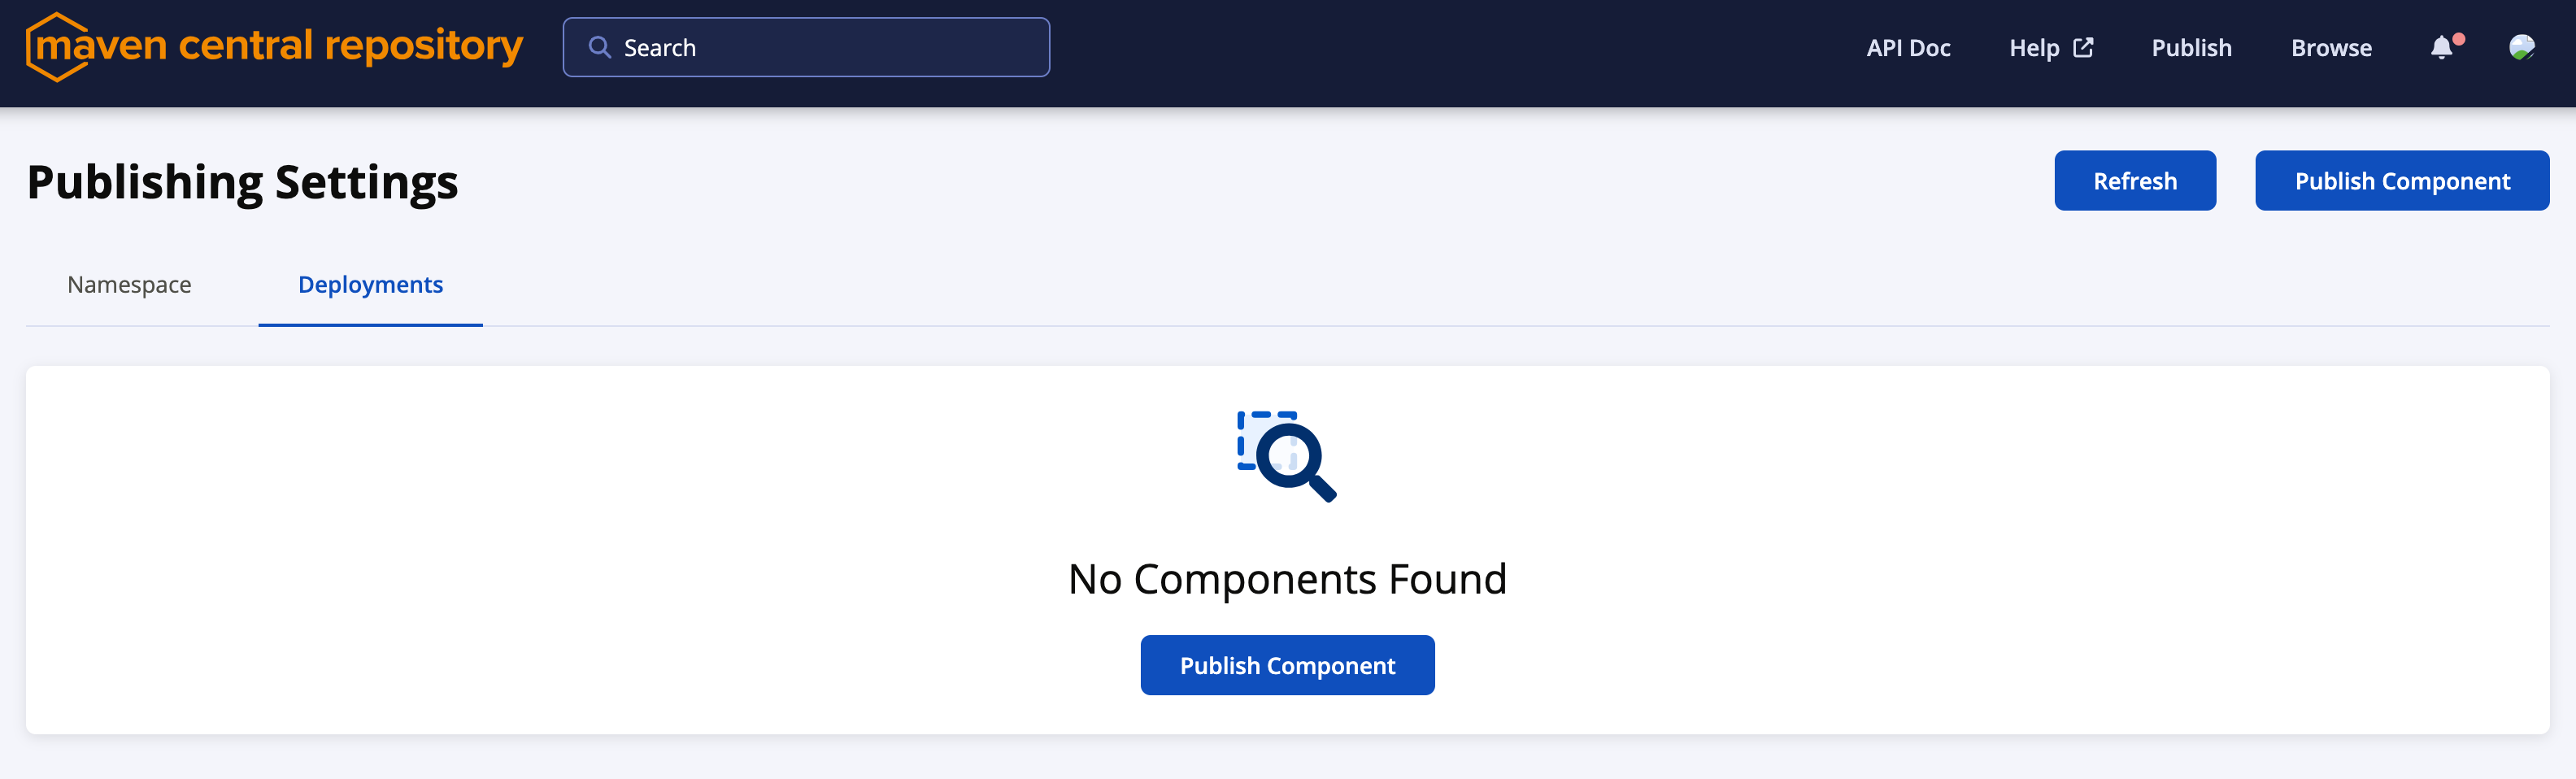
What’s happening here is that the maven-publish plugin creates a staging repository,
and not a deployment.
In order to move from a staging repository to a deployment,
we need to use the
manual API endpoints.
To authenticate against this API,
we need to pass the Authorization HTTP header with the Base64-encoded
string of the form <username>:<password>,
and starting with Bearer.
So, for the example credentials we used above, we could get the Base64-encoded string by running:
$ printf "aBcDef1/:aBCdEFG1H2IjKlmnoPQ3R+STUVw4XYzAB5C6dEF7GH8I" | base64

YUJjRGVmMS86YUJDZEVGRzFIMklqS2xtbm9QUTNSK1NUVVZ3NFhZekFCNUM2ZEVGN0dIOEk=
And with that, we can call the “search repositories” manual API endpoint:
$ curl -H "Authorization: Bearer YUJjRGVmMS86YUJDZEVGRzFIMklqS2xtbm9QUTNSK1NUVVZ3NFhZekFCNUM2ZEVGN0dIOEk=" \
       https://ossrh-staging-api.central.sonatype.com/manual/search/repositories
This should return a response similar to:
{
  "repositories": [
    {
      "key": "aBcDef1//192.168.0.1/com.example--default-repository",
      "state": "open",
      "description": null,
      "portal_deployment_id": "26f6a366-29f6-411d-bf95-e3108760c935"
    }
  ]
}
The crucial piece of information here is the value of the "key" field.
Using it, we can now upload the staging repository,
using the “upload repository” manual API endpoint,
passing that key as the last path parameter:
$ curl -H "Authorization: Bearer YUJjRGVmMS86YUJDZEVGRzFIMklqS2xtbm9QUTNSK1NUVVZ3NFhZekFCNUM2ZEVGN0dIOEk=" \
       -i -X POST https://ossrh-staging-api.central.sonatype.com/manual/upload/repository/aBcDef1//192.168.0.1/com.example--default-repository
HTTP/2 200
date: Sun, 29 Jun 2025 05:10:15 GMT
content-length: 0
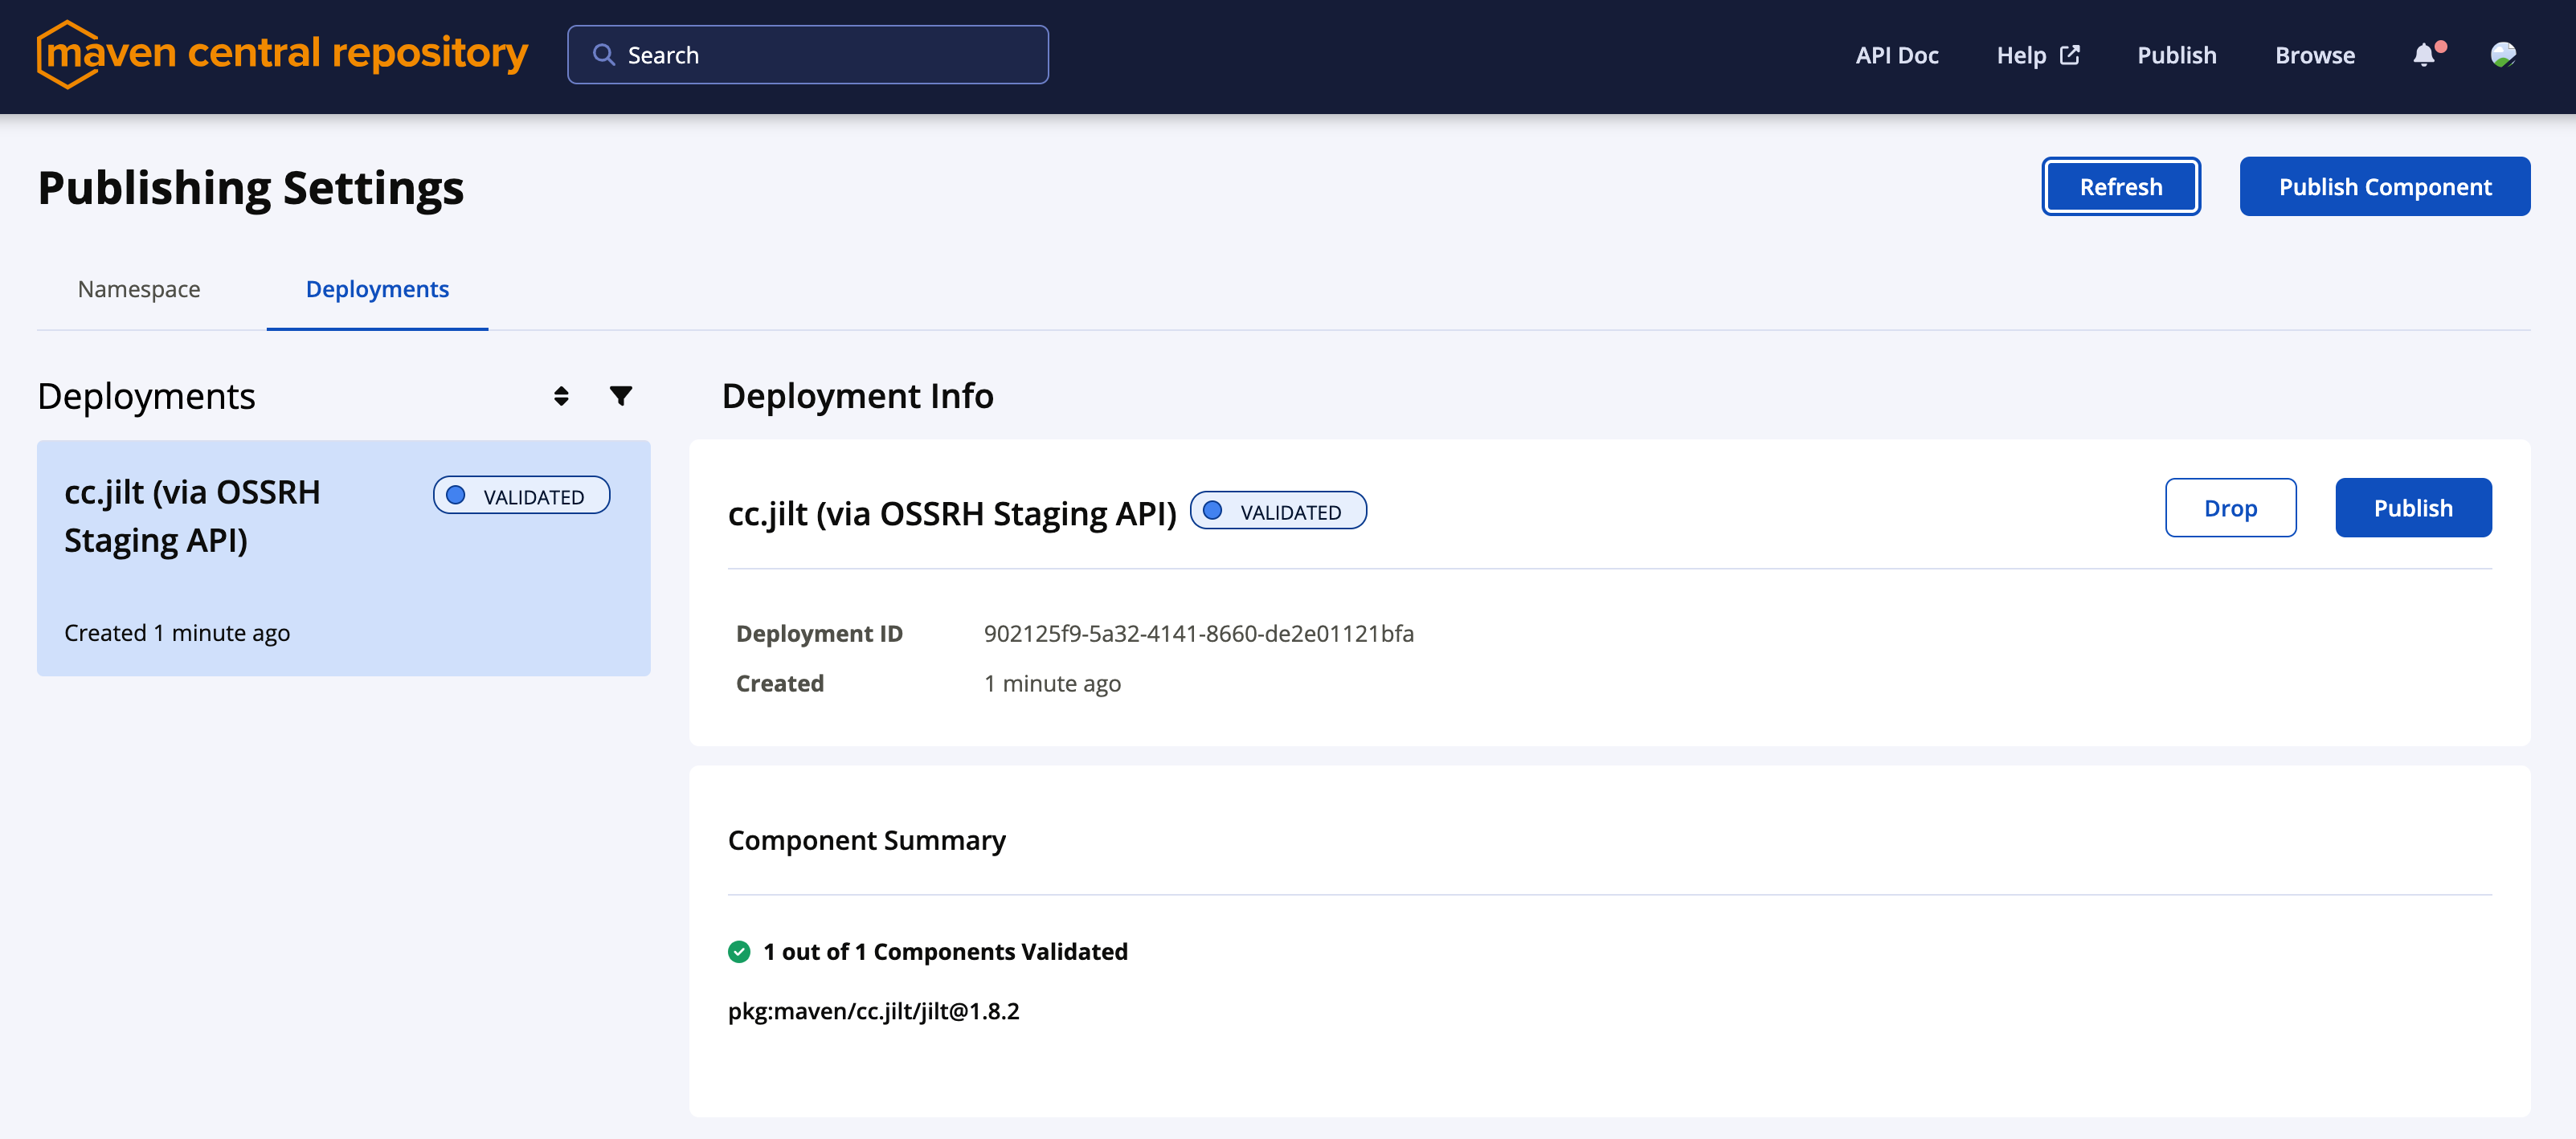
Now, if you refresh the page at central.sonatype.com/publishing/deployments, you should see your deployment on the list. Here’s how that page looks like for me after successfully uploading a release of Jilt:
Step 6: Test the deployed library
One of the downsides of the legacy OSSRH service was that there was no easy way to
test whether your uploaded artifacts were correct when used as a dependency.
This meant that you could only verify your artifacts after they were fully published to Maven Central,
which forced publishing a test version of your library first.
For example, I did it often with Jilt by adding an .rcX
suffix to the version number –
like this with 1.8.rc1.
With Central Portal, this is no longer necessary, and it’s now possible to depend on the artifacts in a Gradle project before they are fully published. The documentation does a great job explaining how to do this, I’ll just show the code if you’re using Gradle with the Kotlin DSL, since the documentation only provides an example in Groovy:
repositories {
    maven {
        name = "centralManualTesting"
        url = uri("https://central.sonatype.com/api/v1/publisher/deployments/download/")
        credentials(HttpHeaderCredentials::class)
        authentication {
            create<HttpHeaderAuthentication>("header")
        }
    }

    // ...other repositories here...
}
And your ~/.gradle/gradle.properties file should include:
centralManualTestingAuthHeaderName=Authorization
centralManualTestingAuthHeaderValue=Bearer YUJjRGVmMS86YUJDZEVGRzFIMklqS2xtbm9QUTNSK1NUVVZ3NFhZekFCNUM2ZEVGN0dIOEk=
With that in place, you can now add a dependency on the unpublished version of your library to this project, and it will be downloaded from the Central Portal deployments repository, just like if it was already published to Maven Central!
Step 7: Publish (or drop) the deployed library
After testing your library, and assuming everything works as expected, you can click the ‘Publish’ button on the deployments page, which will trigger the final publication of your library to Maven Central. Note that the publishing process takes around 15 minutes to finish, so don’t be surprised if you see your library “stuck” in the ‘Publishing’ state for a while.
If the testing revealed any issues with the candidate release, you can instead click the ‘Drop’ button, which will remove the deployment from Central Portal, and you can then fix the issues in your project, and repeat the process starting from Step 4.
Summary
So, this is my experience with migrating a Gradle project from the legacy OSSRH service to the new Central Portal. If you run into any issues during the migration, check out the official documentation, or feel free to comment below.