
CDK tips, part 2 – how to contribute to the CDK
This article is part of a series on working with the Cloud Development Kit:
- Part 1 – local CLI version
- Part 2 – contributing code to the CDK
- Part 3 – unblocking cross-stack references
- Part 4 – migrating from CloudFormation to CDK
- Part 5 – organizing your Stack instances
- Part 6 – speeding up CDK application development
- Part 7 – CI/CD for CDK applications
The Cloud Development Kit is an open-source project with a very vibrant community. Around half of all commits that get pushed to the CDK repository are from contributors outside of the core CDK team. That’s pretty remarkable, and is one of the things that makes CDK so great – the customer feedback and engagement is crucial in making sure the product solves real problems.
The CDK has to cover the entire surface of AWS; which is not only huge, but also constantly increasing, as new services are added, and existing services release new features. This means contributing code is often the quickest way to get that feature supported or bug fixed that is important for your application. Changes don’t have to necessarily touch code directly every time – things like fixing typos or updating the documentation are also extremely valuable!
In this second post of the “CDK tips” series, I want to show how easy it is to contribute code to the CDK project. No previous open-source contribution experience required!
Environment setup
The first step when starting to work on any software project is setting up your development environment. There are two ways to do that for CDK. The simplest is using Gitpod; the other is installing the required dependencies on your machine.
Gitpod environment
The easiest, and recommended, way to setup a local environment for working on the CDK is using the Gitpod service. If you visit the following URL:
https://gitpod.io/#https://github.com/aws/aws-cdk
You’ll open a new tab with an in-browser, Visual Studio-compatible editor, with the latest Git commit of the CDK checked out (there might be a screen first asking you to grant the Gitpod app permissions to your GitHub account if you never used the service before). Because we use Gitpod’s pre-builds feature, the project will be fully built, and ready to be worked on immediately.
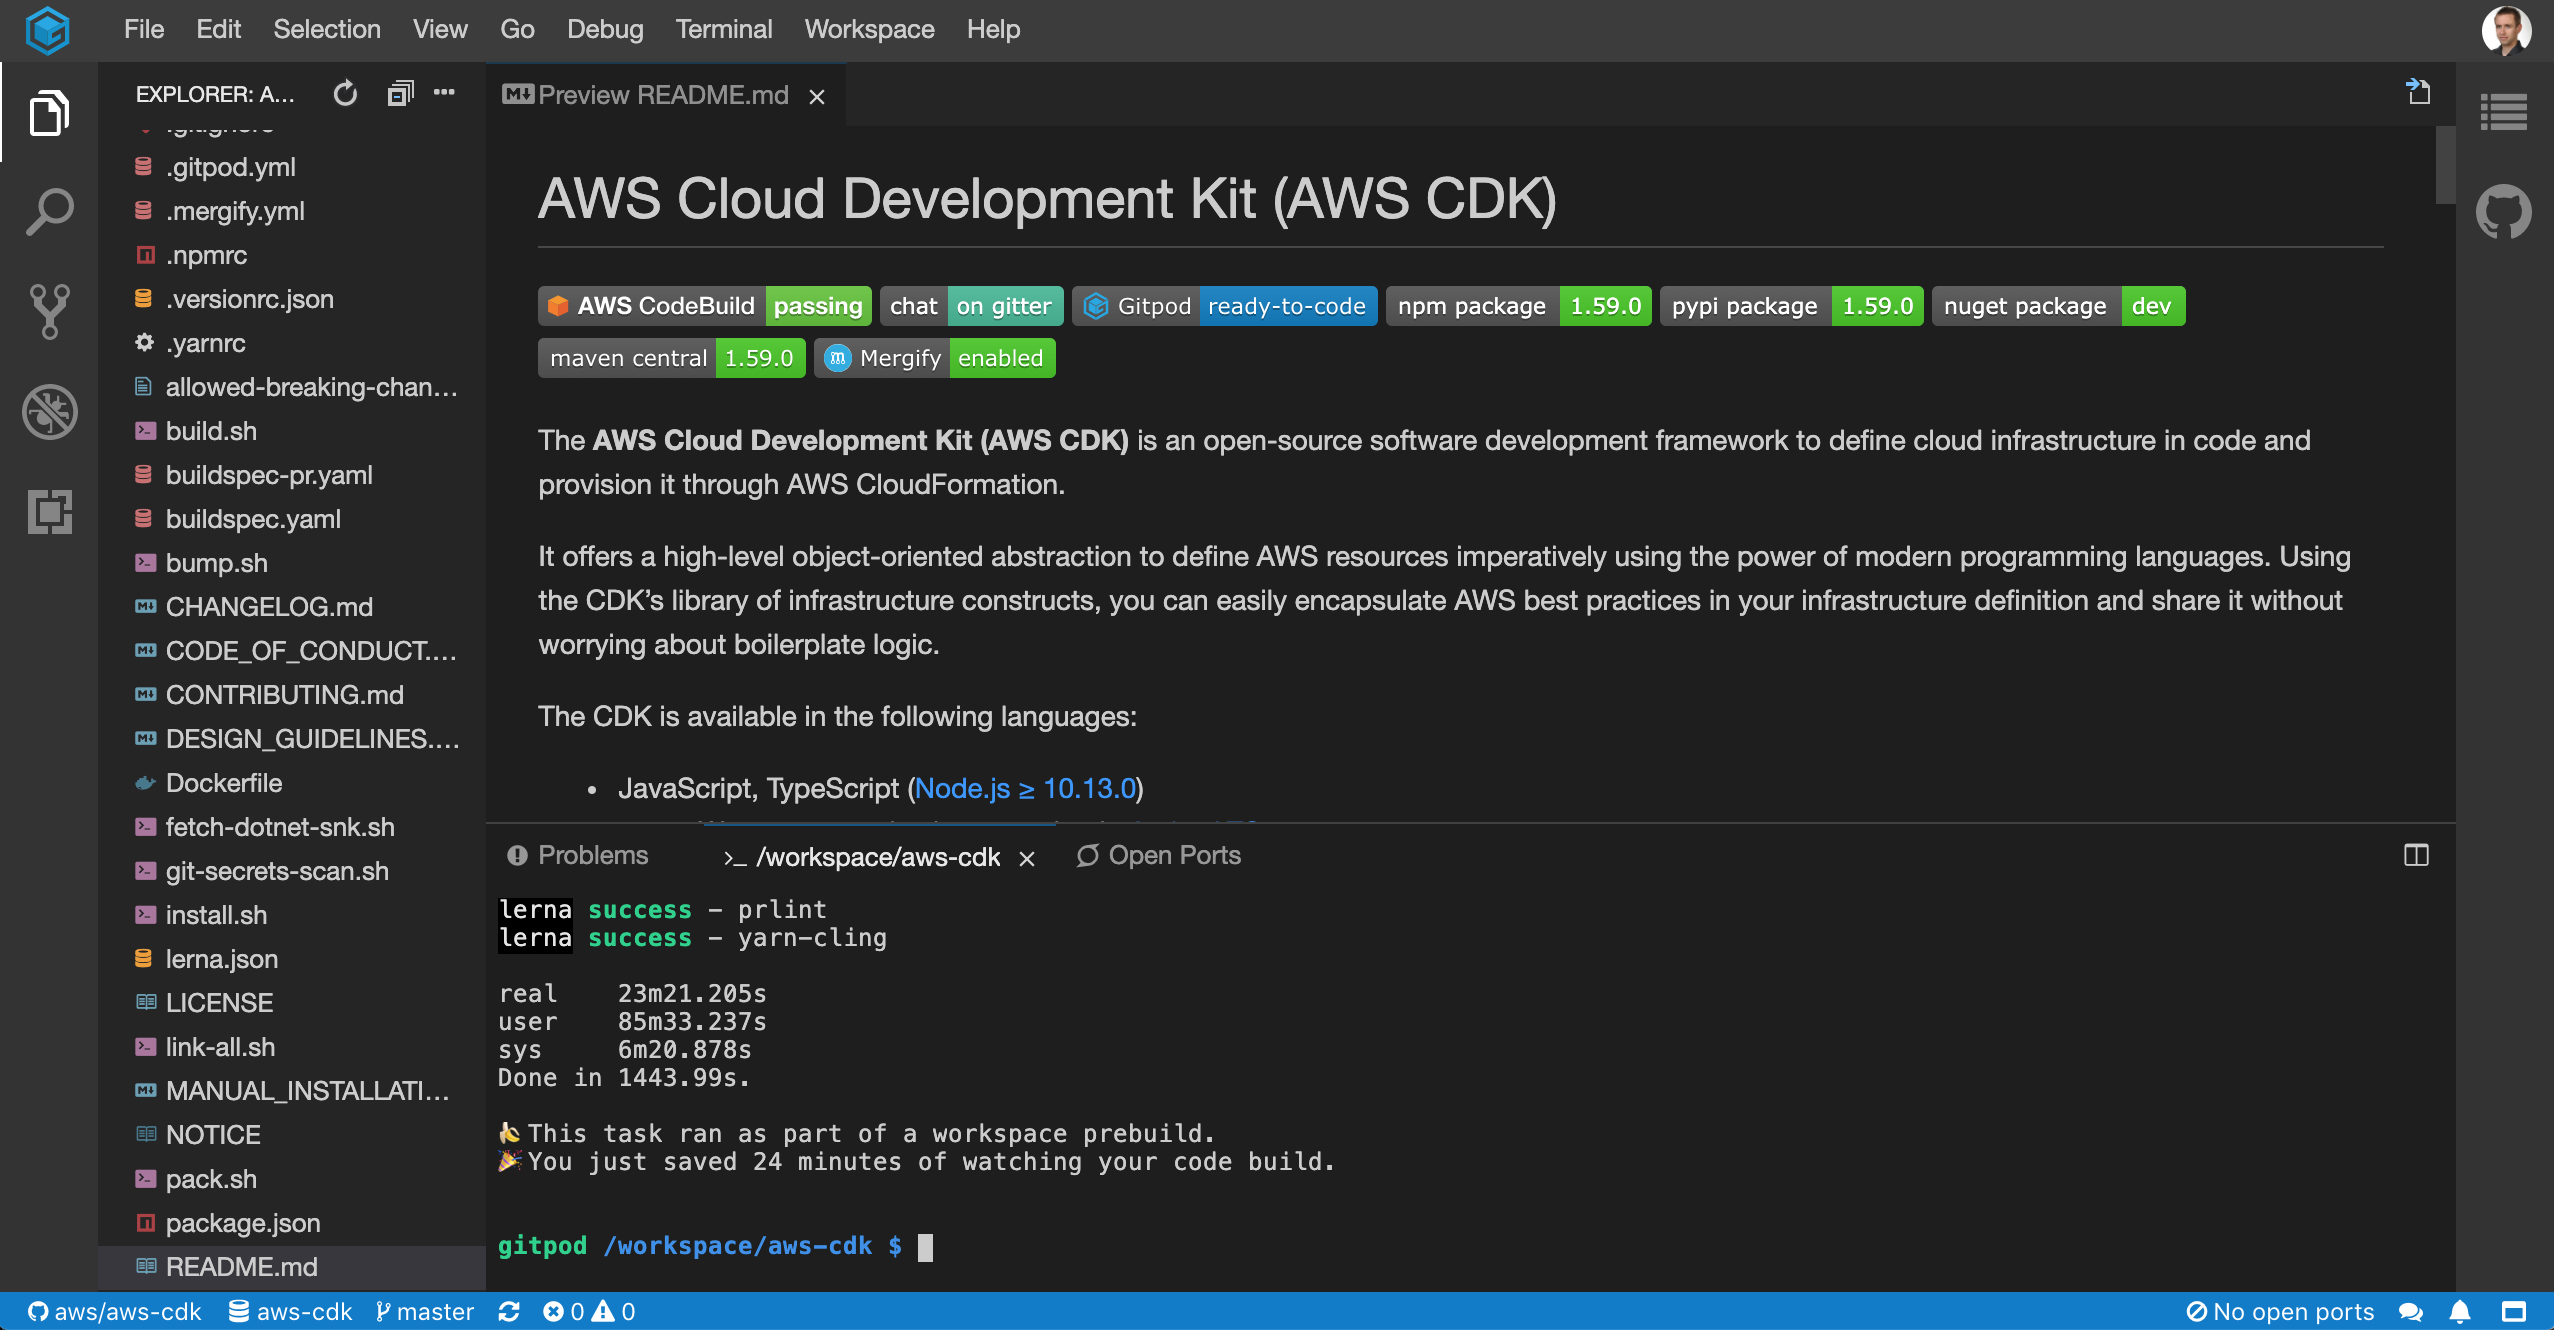
(In rare cases, you might create a workspace just after a commit to the main branch has been pushed; since a full build of the project takes around 45 minutes, there is a short window of time after a push where the pre-build is not ready. In that case, you might have to wait a bit for the build to finish.)
Note that Gitpod is free for 50 hours a month,
so you want to stop your workspace
(File -> Stop workspace in the top menu bar)
when you’re done –
you can safely resume it later,
and all of the local state will be saved.
Local environment
You can also setup the development environment locally. You will need the following tools to compile the code:
To run some of the unit tests, you’ll also need:
To build the code for languages other than JavaScript and TypeScript,
you’ll need their toolchains as well
(for example, you need a JDK and Maven in your PATH for Java),
but that’s usually not required when contributing to the CDK.
Project structure
The CDK is a NodeJS project,
so it uses standard tools like package.json files,
Jest, ESLint, etc.
However, it’s also little bit unusual,
as it’s what’s known in the NodeJS world as a monorepo:
it’s not a single NodeJS package,
but instead over 170 individual packages that all share the same version,
and are developed and released together using Yarn workspaces and
Lerna.
The project is written in TypeScript. I wouldn’t worry too much if you don’t know it; if you’ve ever worked with Java or JavaScript, TypeScript should be fairly easy to pick up. What makes it even easier is that JSII, the technology that powers CDK’s multi-language support, forbids using some more complicated TypeScript features, like intersection types, generics, mapped types, etc. What’s left is a reasonably straightforward language.
I would recommend taking a look at the existing code in the project to get yourself acquainted. I assume you’re already a CDK user if you want to contribute to the project; maybe take a peek at how the classes you use in your application are implemented. Make sure to also look at the unit tests that are present in each module – that should give you a good idea of how do the different classes interact with each other.
Common workflows
Full build (not recommended)
You can do a full build of the entire repository. I don’t recommend it, as it’s quite slow (at least 30 minutes, depending on how powerful your machine is), and if you’re using Gitpod, the code is already built anyway, so there’s no need to ever invoke the full build. Even if you’re not using Gitpod, a partial build (see below) is usually enough, and much faster (and also can be resumed when it fails!).
You invoke the build by running yarn build from the root of the repo.
The command takes a few options that make it a little faster:
--skip-testsallows you to save some time by only compiling each package (by default, unit tests are also executed for each package)--skip-prereqsskips the checks for all tools being present – like I said above, not all of them are required if you skip the unit tests and the language-specific code generation--no-baildoesn’t terminate when a single module fails to build, which is useful, as you don’t have to start over from the beginning
Single package build
In the vast majority of cases, your want to work on a particular package. For example, you might be interested in submitting a change to the S3 module. First, you want to change to the directory of the package:
~/aws-cdk/$ cd packages/\@aws-cdk/aws-s3
~/aws-cdk/packages/@aws-cdk/aws-s3/$
You have the following useful scripts when working on a single package:
yarn buildcompiles the TypeScript files, and runs the lintersyarn watchstarts a process of watching the files for changes, and compiling them immediately when any of them is modified. Interrupt the process (Ctrl + C) to terminate the commandyarn testruns the unit tests for the packageyarn build+testrunsbuild, and thentest, with one command
So, the most effective way of working with a single package in the CDK repo is to have
yarn watch continuously running in one terminal tab,
and then invoking yarn test in a different tab,
in the same directory as watch,
when you want to run the unit tests to confirm your changes work as expected.
Just make sure to also run yarn build
at least once before you open the Pull Request
(see below),
as yarn watch does not run all the linters that
yarn build does.
Partial build
When you want to update your workspace,
because new commits were pushed to the upstream CDK repository since you created it,
you invoke yarn install with the frozen-lockfile switch:
~/aws-cdk/$ yarn install --frozen-lockfile
After that,
the quickest way to compile the packages that changed is to invoke the buildup
script from whatever package you’re working on –
let’s assume it’s S3 again:
~/aws-cdk/packages/@aws-cdk/aws-s3/$ ../../../scripts/buildup
This will build all dependencies of the given package
(in this case, @aws-cdk/aws-s3),
including its transitive dependencies,
in the correct topological order,
and finally the module itself.
The cool part is that buildup is implemented using a different script from the project,
foreach.sh, which makes it resumable;
if any package fails to build
(the most common cause for that is compiled JavaScript files that get left behind after deleted or renamed TypeScript sources),
you can call buildup --resume after fixing the problem,
and the script will continue execution at the package that caused the failure,
instead of starting from scratch!
Local testing
It’s often useful to use the version of the CDK that you’re developing in a CDK application –
for example, to actually try and deploy the CloudFormation template that gets generated by the added or modified classes.
There is a script in the CDK repository, link-all.sh,
that makes this very easy.
All you have to do is call it from a TypeScript or JavaScript CDK application’s root directory,
and all CDK packages in the application’s node_modules
directory will be substituted by the versions that that link-all.sh belongs to.
The entire procedure looks like this:
~/aws-cdk/$ cd ..
# create a new CDK application
~/$ mkdir my-example-cdk-app
~/$ cd my-example-cdk-app
~/my-example-cdk-app/$ npx cdk init --language typescript
# link the locally-built CDK version into your application for testing
~/my-example-cdk-app/$ ../aws-cdk/link-all.sh
# you can verify it worked by running a CDK command
~/my-example-cdk-app/$ npx cdk --version
0.0.0 (build ab12cd34)
This way, you can try out using the code you added or modified in a real CDK application, deploy it to see if the CloudFormation template is generated correctly, and play with the created resources to make sure they work (for example, that all IAM permissions were correctly wired together).
Opening a Pull Request
So, let’s say you’ve made the changes you want, and you’ve tested them, and are confident they work correctly. Now it’s time to submit that proposed change upstream for the CDK maintainers to review!
First, you probably want to create a new Git branch, and commit all of your changes to it if you haven’t already. It looks something like this:
# create the new branch and change to it in one command
~/aws-cdk/$ git checkout -b mybranch
~/aws-cdk/$ git add .
~/aws-cdk/$ git commit -m "feat: my awesome feature"
(If you’re surprised by that commit message, it’s because CDK uses Conventional Commits, which allow the Changelog of the project to be maintained automatically)
Second, you need to have a fork of the aws/aws-cdk repository.
If you’re using Gitpod,
you have the ability to create the fork directly from the editor –
just go to the Source Control pane in the left menu,
and Gitpod will allow to to press the Fork... button
(you can safely press it even if you already have a fork;
Gitpod will find it,
and switch the origin Git remote to point to the fork).
If you’re not using Gipod, you need to create the fork from the browser – here are the official GitHub docs on how to do that – and add a new remote to your Git repository pointing to the fork:
~/aws-cdk/$ git remote add fork git@github.com:your-user/aws-cdk.git
(Of course, substitute your-user in the command above with your GitHub username)
Once you have the fork,
you can open the Pull Request.
If you’re using Gitpod,
you can again do it directly from the editor –
just go to the Pull Request view on the right.
It will first tell you to push that newly created branch to your fork with a button labeled
Publish Changes.
After the commits have been pushed,
you fill the description of the change,
press the Create pull request button,
and that will actually open the PR,
without ever leaving your editor!
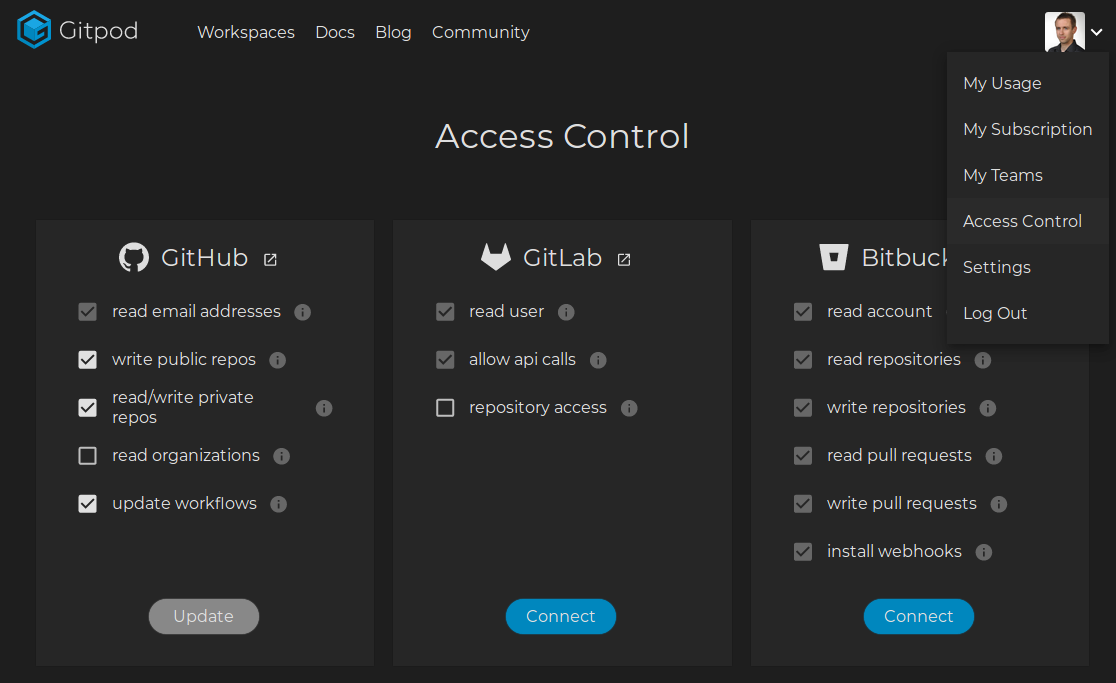
Note that, in order for this to work,
you have to grant the Gitpod GitHub app correct permissions.
You’ll find the settings in gitpod.io:
click your profile picture in the top-right corner,
and then choose Access Control.
If you’re not using Gitpod, you need to push the branch with your changes to your fork:
~/aws-cdk/$ git push fork mybranch
Total 1 (delta 1), reused 0 (delta 0)
remote:
remote: Create a pull request for 'mybranch' on GitHub by visiting:
remote:      https://github.com/your-user/aws-cdk/pull/new/mybranch
remote:
To git@github.com:your-user/aws-cdk.git
 * [new branch]      mybranch -> mybranch
(Of course, substitute mybranch in the command above with your branch name)
If you visit the URL that was printed above in response to your push
(https://github.com/your-user/aws-cdk/pull/new/mybranch)
it’ll open GitHub’s Pull Request creation page.
Just fill in the details and click Create pull request.
Congratulations – you’ve just submitted your first change to the CDK!
More information
Hopefully this is enough to get you started with working on the CDK codebase. Some useful other resources:
I recorded a video showing the process described above:
The CDK ‘Contributing’ guide is always the most up-to-date reference on the process of proposing changes to the CDK
- There is a session from the 2019 re:Invent conference, ‘Contributing to the AWS Construct Library’, presented by Rico Huijbers, a member of the CDK core team
- For more information on Gitpod, check out their documentation
This article is part of a series on working with the Cloud Development Kit: